How to Fix a Bad Passport Photo Before You Submit It
Fix common passport photo issues—size, background, lighting, and pose—to prevent 2–8 week application delays with simple retakes or compliant tools.
How to Fix a Bad Passport Photo Before You Submit It
Here’s the deal: the U.S. Department of State has strict photo requirements, and even small mistakes can lead to delays of 2 to 8 weeks. Common issues include:
- Shadows on your face or background
- Incorrect photo size (must be 2 x 2 inches)
- Wearing glasses (banned since 2016)
- Non-white backgrounds or visible patterns
- Low resolution or digital filters
Quick Fixes
- Use natural or even lighting to avoid shadows.
- Ensure your head size is between 1 and 1 3/8 inches from chin to crown.
- Retake photos with a plain white or off-white background.
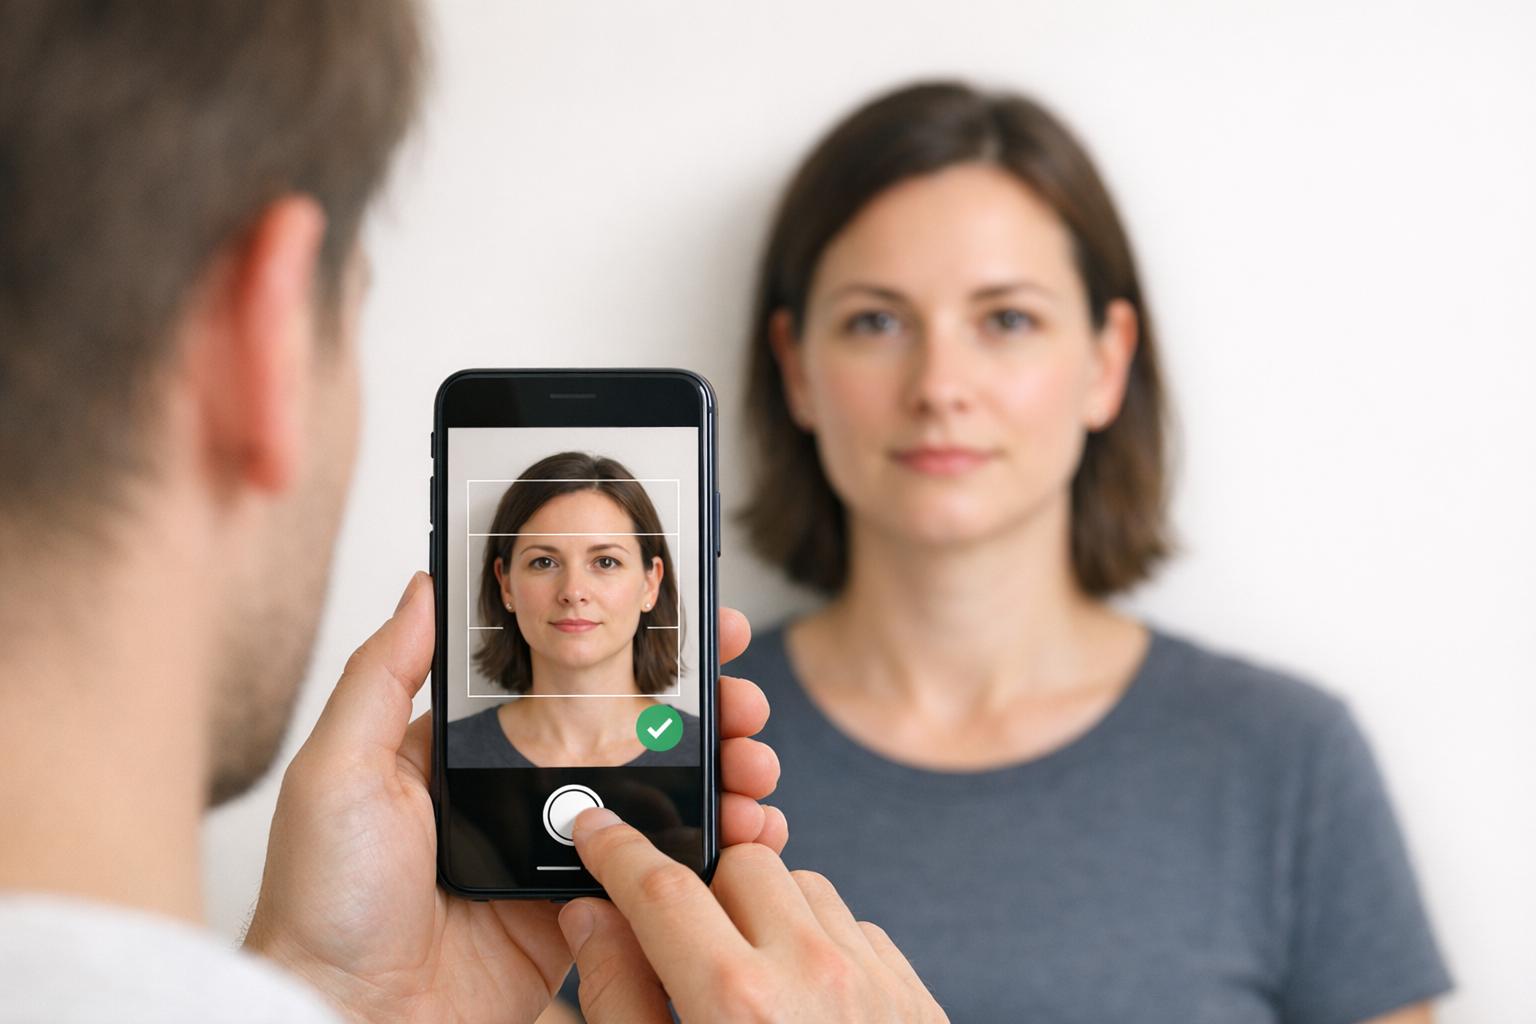
- Avoid selfies; have someone else take the picture.
For a hassle-free solution, tools like Passport Photo Ready can help you fix lighting, crop dimensions, and adjust backgrounds to meet compliance standards.
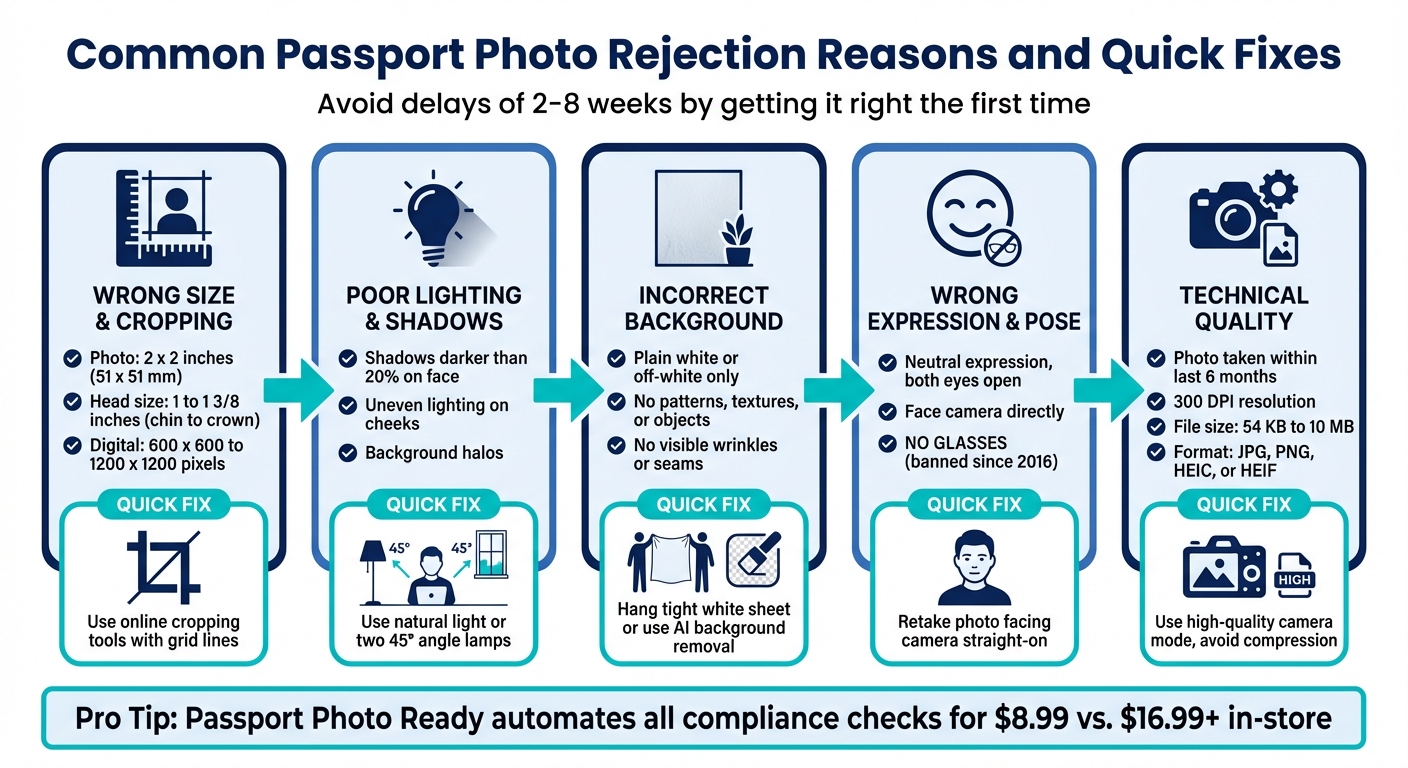
Common Passport Photo Rejection Reasons and Quick Fixes
10 Passport Photo Mistakes That Will Get You Rejected (And How to Fix Them) #passportphoto
sbb-itb-84f4ca2
How to Spot Problems in Your Passport Photo
Before diving into any fixes, it’s crucial to identify common issues by carefully examining your photo. Most rejections happen due to problems that are easy to catch with a thorough visual check. Here’s what to look out for:
Wrong Size and Cropping
Your passport photo needs to be exactly 2 x 2 inches, with your head measuring between 1 and 1 3/8 inches from the bottom of your chin to the top of your head. Use a ruler to measure your printed photo or a template for guidance. For digital submissions, ensure the file size falls between 54 kilobytes and 10 megabytes, and save it in an accepted format like JPG, PNG, HEIC, or HEIF.
Pay attention to head placement within the frame. The bottom of the photo should align with your shoulders where your arms begin. If you’re too far zoomed out, the system might detect background errors. Leave a little space - often called "head room" - between the top of your head and the edge of the photo. To avoid distortion, have someone else take the picture instead of snapping a selfie.
Poor Lighting and Shadows
Lighting is another major reason photos get rejected. Ensure both sides of your face are evenly lit. If one cheek looks noticeably darker than the other - about 20% darker - it’s a sign of uneven side lighting. Shadows on areas like your nose, chin, neck, or eye sockets are also a red flag.
"Shadows darker than 20% relative to the face trigger rejections, as they mimic objects or distort biometric geometry." - Visafoto
Check the wall behind you too. A dark outline or "halo" around your head and shoulders often indicates a background shadow, which can lead to rejection. Watch for bright "hot spots" on your forehead, nose, or cheeks caused by harsh lighting or flash, and make sure there’s no glare on eyeglasses.
Incorrect Background
The background of your photo must be plain white or off-white. Backgrounds with colors like gray, cream, or yellow are likely to get rejected. Look closely for any patterns, textures, or visible imperfections like wallpaper seams or fabric folds - the surface should be completely smooth.
"An incorrect background - even slightly off-white - could result in your application being rejected." - xPassportPhoto
Make sure no objects like furniture, wall art, or other people appear in the frame. Your hair and clothing should contrast with the background - for instance, avoid wearing white if the wall is white. Also, skip portrait mode or digital blur effects, as these can alter the background and make your photo non-compliant.
Wrong Facial Expression and Pose
Your pose and expression matter. Face the camera directly, keep your head straight, and maintain a neutral expression. Both eyes should be open and looking forward.
Unless you have a signed medical exemption, don’t wear glasses. They can cause glare or reflections that obscure your eyes, which is a common reason for rejection.
Other Rejection Causes
Your photo must have been taken within the last 6 months. If your appearance has changed significantly - like a major hairstyle or weight change - you’ll need to submit a new photo. Lastly, ensure the image quality is sharp. Blurry, grainy, or pixelated photos won’t make the cut.
How to Fix Each Problem
After spotting the issues, you can address them with these targeted solutions. While some problems might require retaking the photo, others can be adjusted using basic editing tools.
How to Fix Size and Cropping
If your photo doesn't meet the required dimensions, resize and crop it to the standard 2 x 2 inches (51 x 51 mm). For digital submissions, ensure the image falls between 600 x 600 and 1,200 x 1,200 pixels. Many online tools, including the U.S. Department of State's photo tool, can handle cropping and resizing for you. These tools often include grid lines to help center your face and ensure your head takes up about 50% to 69% of the image height.
If you're using software like Photoshop, avoid digital zoom, as it can lead to pixelation. Instead, crop from a high-resolution original. When retaking the photo, position the camera about 4 feet away to avoid distortion and leave enough white space around your head. Align the bottom of the frame with your shoulders. For at-home printing, use a ruler and sharp blade or a photo cutter to achieve clean, straight edges. Print on matte or glossy photo paper with a resolution of at least 300 pixels per inch.
How to Fix Lighting and Shadows
Lighting problems can often be resolved with minor adjustments, but severe shadows may require retaking the photo. Use natural light by standing in front of a window on an overcast day; clouds act as natural diffusers, softening harsh shadows. Alternatively, set up two identical lamps at eye level, positioned at 45-degree angles on either side of the camera, for even lighting. Avoid using your camera's flash, as it can create red-eye and overexposure. Turning off ceiling lights can also help reduce shadows under your nose and chin.
If the light is too strong, use a thin white curtain or lampshade to diffuse it. Stand 2 to 3 feet away from the wall to prevent shadows from appearing in the background. For glare or shiny spots on your face, adjust the angle of your light sources or apply matte powder to reduce shine.
How to Fix the Background
A proper background is non-negotiable. U.S. passport photos require a plain white or off-white background with no patterns, textures, or objects visible. If retaking the photo, hang a white sheet behind you and pull it tight to eliminate wrinkles or folds that could cast shadows. Avoid wearing white or off-white clothing to create contrast against the background.
For digital fixes, AI-powered background removal tools can replace your background with a clean, white one. Many of these tools process images locally for privacy and offer free previews, though downloading a high-resolution version typically costs around $6.99. If you're submitting your photo online, you can also use the U.S. Department of State's photo tool to verify that your background meets the required standards.
How to Fix Expression and Pose
Issues with expression and pose almost always require retaking the photo. Face the camera directly, keeping your head straight and your expression neutral, with both eyes open. Glasses have been prohibited in U.S. passport photos since 2016 to avoid glare and identification complications - unless you have a signed medical exemption. Ensure your hair doesn't obscure your eyes or create shadows, and keep your shoulders level and square to the camera.
Why Use Passport Photo Ready for Hassle-Free Fixes
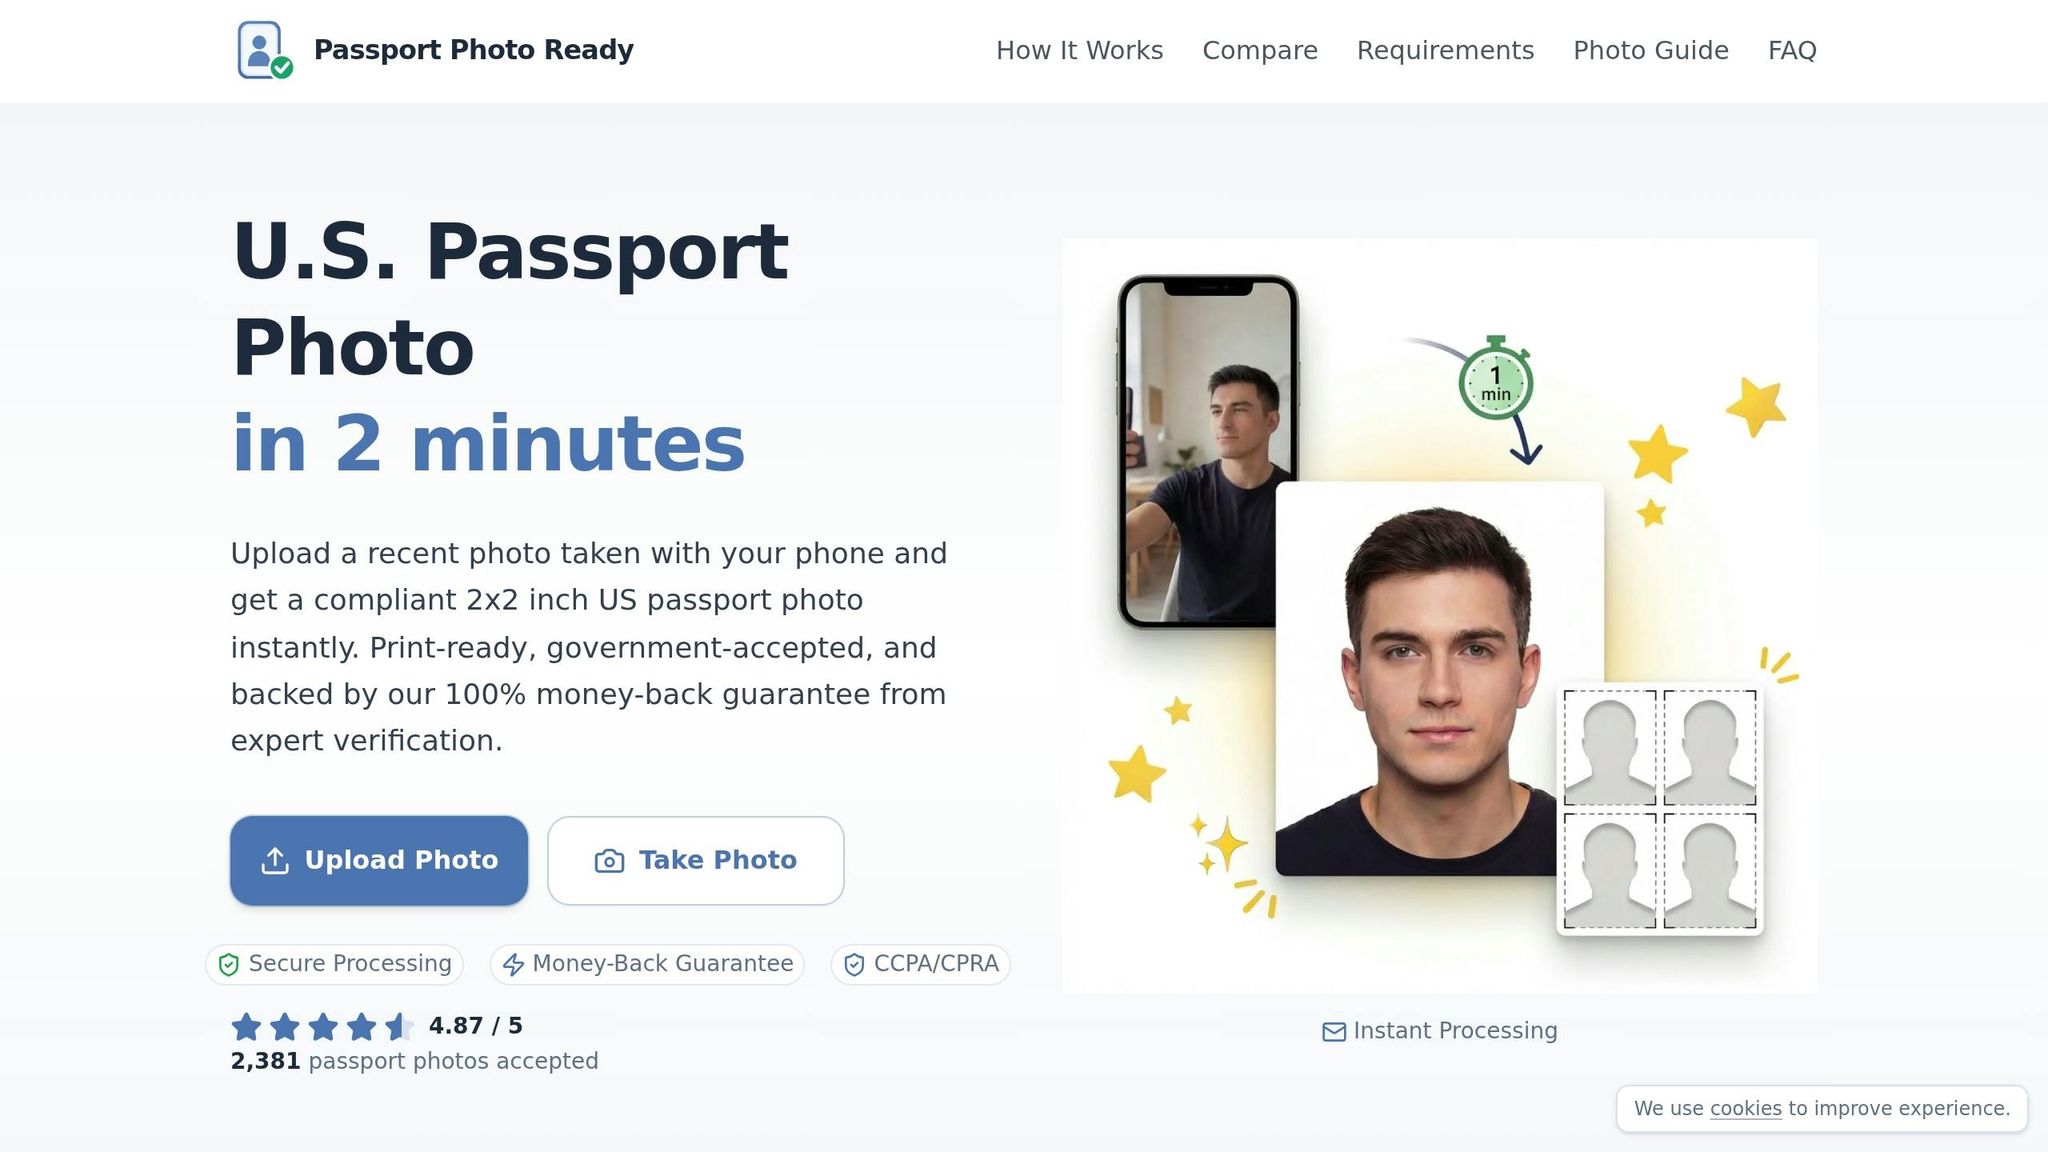
Once you've explored how to fix photo issues on your own, it's time to see how Passport Photo Ready can make the process effortless. Fixing photos manually takes both time and skill. Passport Photo Ready simplifies everything by automating compliance checks, ensuring your photo meets U.S. Department of State standards before submission.
What Passport Photo Ready Offers
This service takes care of all the technical details for you. Simply upload a photo - even a casual selfie - and the system instantly crops it to the required 2 x 2 inches, adjusts your head's position to fit between 50% and 69% of the image height, and swaps out the background for a plain white or off-white one. It also uses advanced tools to balance lighting, removing shadows, glare, and uneven brightness.
Every image undergoes round-the-clock manual review by compliance experts, who check for key biometric standards like a neutral expression, open eyes, and no glare or obstructions. The system can even improve the resolution and clarity of photos taken with lower-quality smartphone cameras. For added security, all processing is encrypted, and photos are deleted automatically within 72 hours. Plus, the service offers a 100% refund if your photo is rejected, giving you peace of mind.
How Passport Photo Ready Works
Getting started is simple and takes just three steps. First, snap a selfie with your smartphone or upload an existing photo - no need for a white background or professional lighting. Next, the system formats your image and sends it for expert review. Finally, download your compliant digital photo (2 x 2 inches) along with a printable 4 x 6 inch sheet, or opt for prints to be picked up at Walgreens.
Price Comparison
At just $8.99, Passport Photo Ready includes expert verification, automatic background adjustments, lighting corrections, and a compliance guarantee. This is a much better deal compared to in-store services, which often charge over $16.99 and typically don’t include biometric verification. The online option not only saves money but also spares you the inconvenience of visiting a physical location, all while providing greater confidence that your photo will meet government standards.
Pre-Submission Checklist
Before submitting your passport application, take a moment to ensure your passport photo meets all the necessary requirements. A quick review now can help you avoid weeks of delays and the frustration of resubmitting.
Check U.S. Standards Compliance
Start by confirming that your printed photo is exactly 2 x 2 inches, with your head size measuring between 1 and 1 3/8 inches from chin to crown. The background should be plain white or off-white, free of shadows, patterns, or objects.
Make sure the photo was taken within the last 6 months. If your appearance has changed significantly, you’ll need a new photo. Your expression should be neutral, with both eyes open. Glasses are not allowed unless you have a signed medical exemption.
Check Digital File Requirements
For online submissions, your photo file must be square, with dimensions between 600 x 600 pixels and 1200 x 1200 pixels. The file size should fall between 54 KB and 10 MB. Accepted formats include JPG, PNG, HEIC, and HEIF.
Ensure the photo is captured at 300 DPI in the highest quality mode. Avoid sending the photo via text or messaging apps to prevent compression issues. Refrain from scanning printed photos or taking pictures of prints, as this reduces resolution and quality.
Once your digital file is ready, double-check your printing and submission methods to ensure everything meets the official standards.
Printing and Submission Options
If printing at home, use matte or glossy photo-quality paper and select "Actual Size" or 100% scaling. Avoid using "fit to page" or "borderless" settings. For the best results, an inkjet printer is recommended, as it provides better accuracy for skin tones.
Allow the print to dry completely before handling, and use a paper trimmer to ensure clean, precise edges. For digital submissions, download your compliant file directly from Passport Photo Ready and upload it without making further edits or compressing the image.
Conclusion
Getting your passport photo just right doesn't have to be complicated. Start by addressing common issues like incorrect dimensions, poor lighting, or a background that doesn’t meet the requirements. Tackle these early on - whether it’s resizing the photo, adjusting your head placement, or swapping a busy background for a plain white one. Each adjustment gets you closer to ensuring your photo is accepted without any hiccups.
To make the process even easier, Passport Photo Ready offers a solution that combines AI-powered tools with expert verification. With over 11,000,000 satisfied users, the platform handles the technical details for you, offering a 100% acceptance guarantee and even a 2x money-back promise if your photo doesn’t pass. It’s designed to take the guesswork out of preparing a compliant passport photo.
Before submitting your application, double-check everything. Was your photo taken within the last six months? Does it meet the required dimensions? Is your expression neutral, with both eyes open? Once you’ve confirmed these details, your photo should be fully compliant and ready to go.
FAQs
Can I edit a passport photo, or do I need to retake it?
Sometimes, you can address passport photo problems - such as resolution, lighting, or background issues - using online editing tools. These tools can help you tweak the image to meet biometric standards without needing to retake it.
That said, if the photo has major problems, like the wrong size, an incorrect background, or facial expressions that don't comply with guidelines, retaking the photo might be your best bet. Ensuring the photo meets official requirements is key to avoiding rejection.
What’s the best way to get a plain white background at home?
To set up a plain white background for your passport photo at home, find a smooth, light-colored or white wall with no patterns or textures. Make sure the area is free of clutter. Use soft, even lighting - natural light from a nearby window or diffused artificial light is ideal - to prevent shadows on your face or the wall. This simple setup helps ensure your photo aligns with passport guidelines.
How can I check if my digital photo will upload without being rejected?
To make sure your digital passport photo gets accepted, double-check that it follows all U.S. passport photo requirements. This includes the correct size, a plain white or off-white background, proper lighting, and a neutral facial expression. Be sure to review the official guidelines for details on acceptable formats, resolution, and dimensions. You can use online tools or resources from the Department of State to verify everything is in order before submitting your photo. This simple step can save you from the hassle of rejection during the upload process.